Data Migration
The process of data migration from Oracle to SQL Server is relatively straightforward once the target instance is fully installed and configured. The Data Migration tool is graphical in nature and intuitive to use and the process of migration on an up to date server should take approximately one hour.
-
Stop the AOS services on the source and target instances.
-
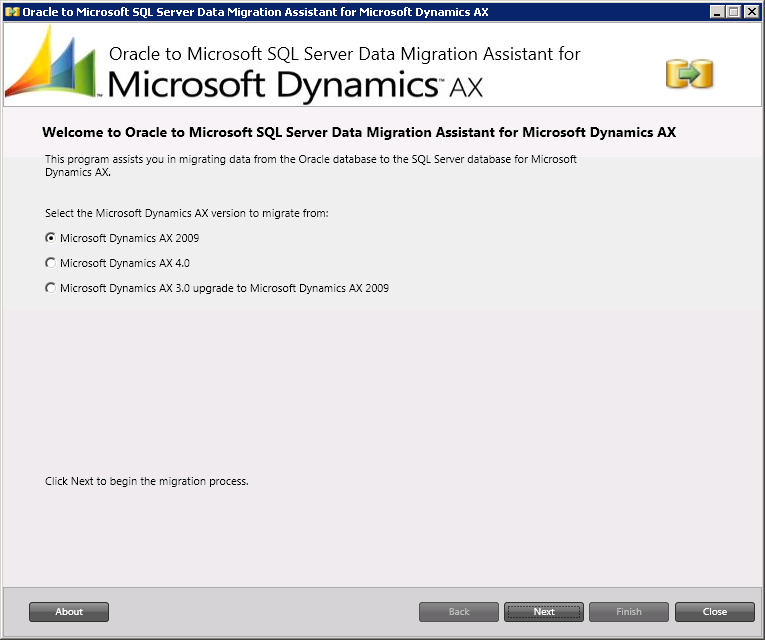
Open the Migration Tool and select the version of Dynamics AX being migrated – in this case AX 2009.

-
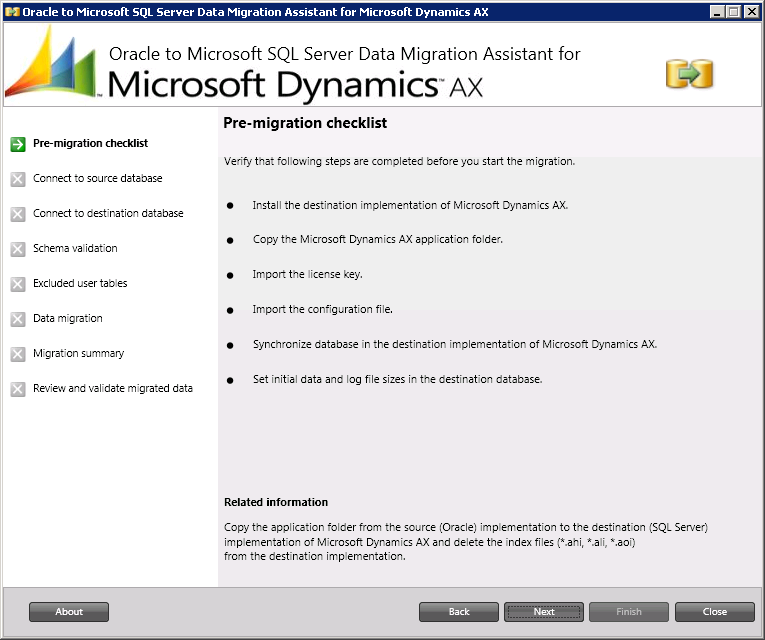
Review the Pre-Migration checklist and ensure all the requirements have been met.

-
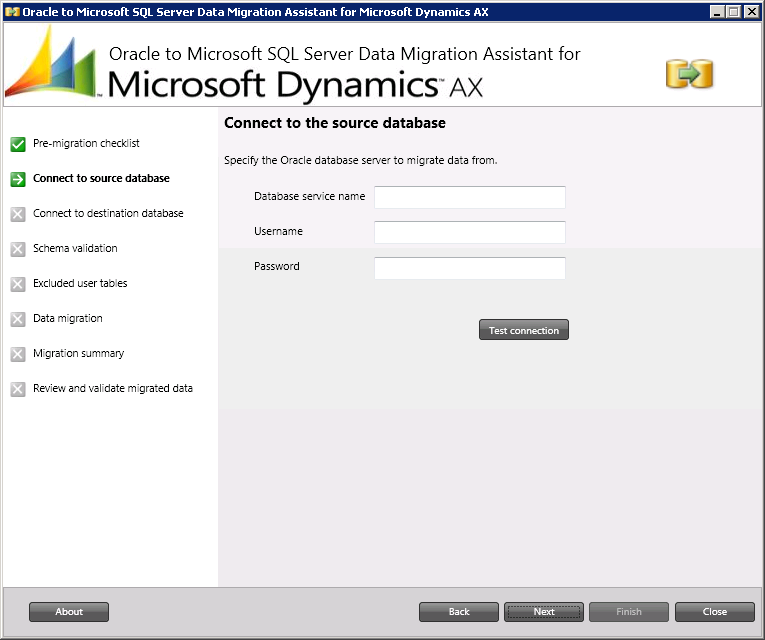
Enter the connection details of the source Oracle database and test the connection

-
Enter the connection details of the target SQL Server database and test the connection.

-
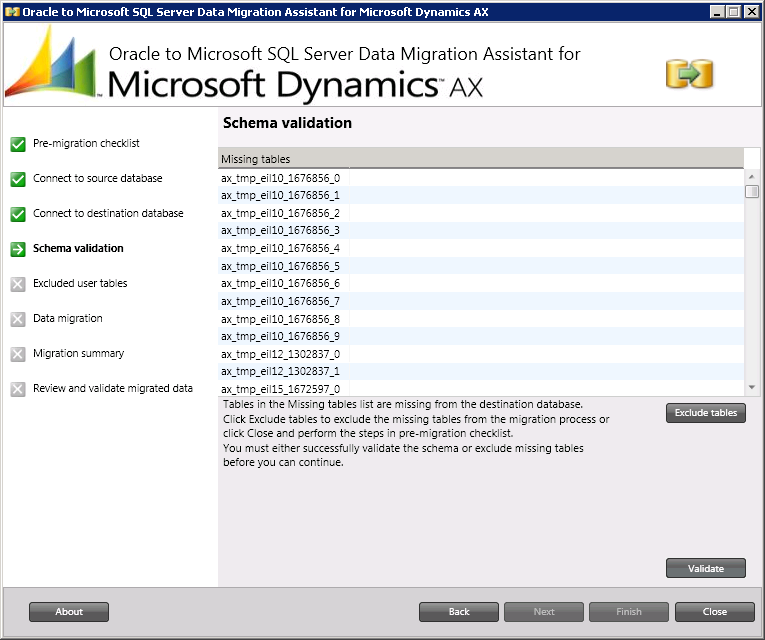
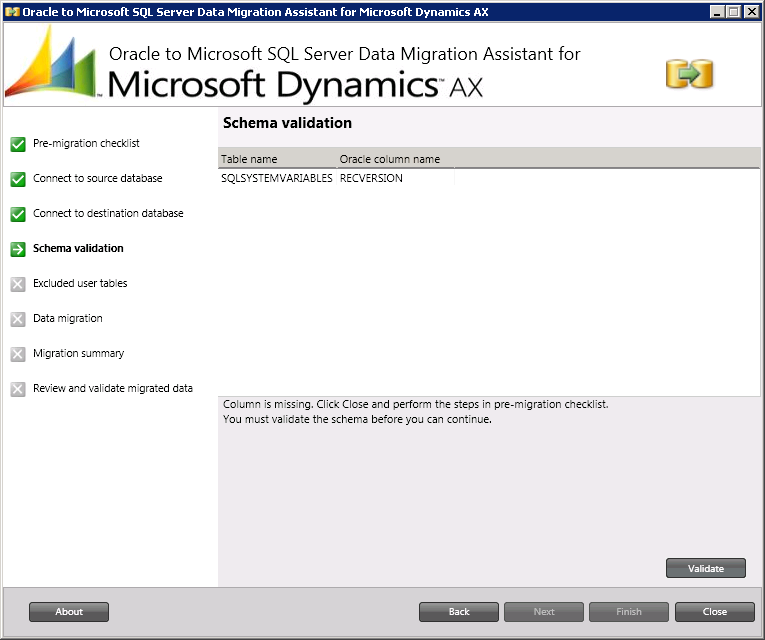
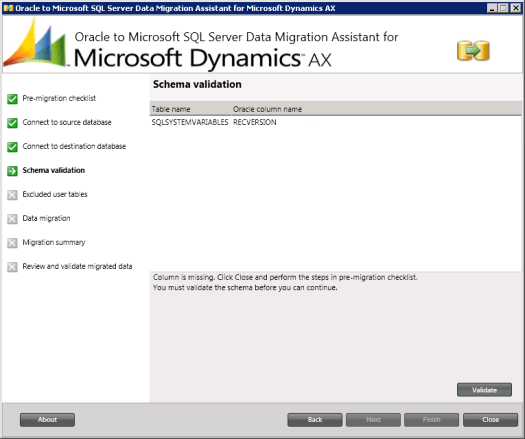
Validate the target schema against the source schema.

-
A list of missing tables will be produced. This is expected behaviour and addresses tables that are not to be migrated, for example Oracle temporary tables and tables relating to disused or unlicensed AX modules.


-
Note that Schema Validation re-runs after you have selected to exclude tables.
-
Schema validation may highlight missing columns that will need to be manually created in the target database. If a missing column is discovered in schema validation, it is necessary to step back and re-validate the entire schema in order for the addition of the column to be recognised by the migration tool. Merely adding the column and running the “revalidate” option will not detect the new column without stepping back a step.
-
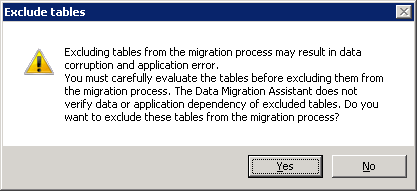
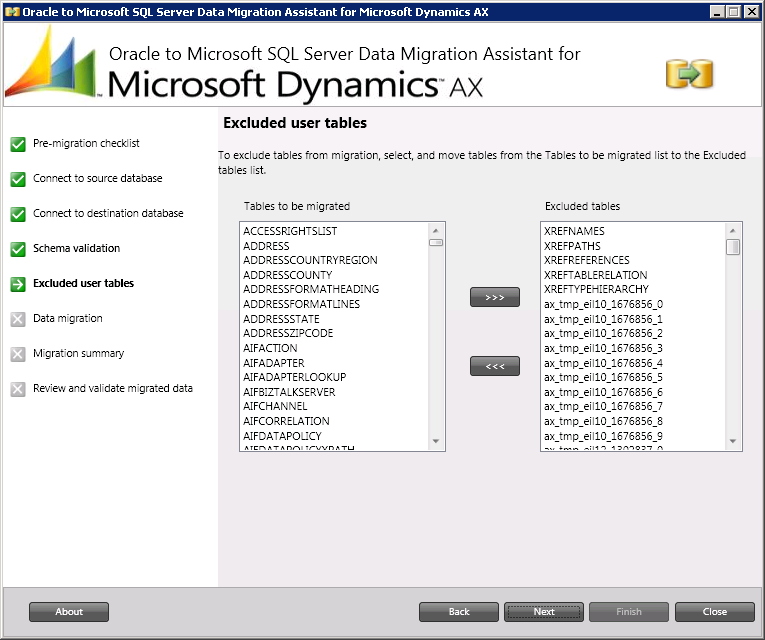
Check the list of tables that will be excluded from the migration. Ensure the list is as expected.

-
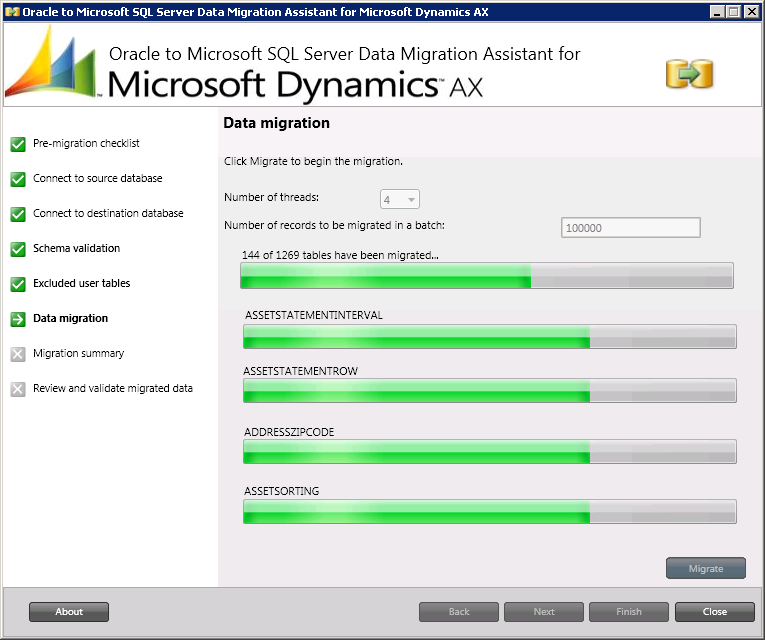
Set the number of threads (depending on the number of CPU cores available) and the number of records to be processed in each batch. Click “migrate” to start the migration.


-
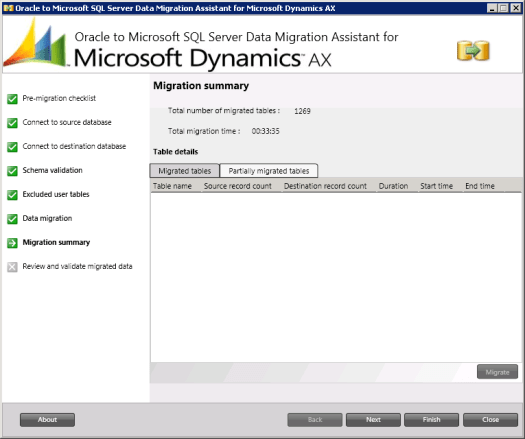
Once the migration completes, review the migration summary and validate the table row counts. Check the list of partially migrated tables and ensure no tables were only partially migrated.

-
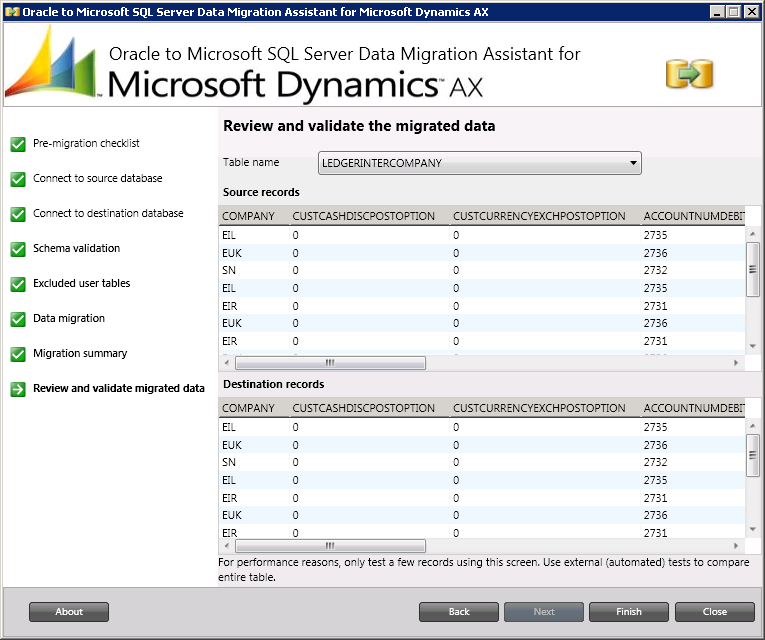
The migrated data can be further reviewed on a table by table basis.

-
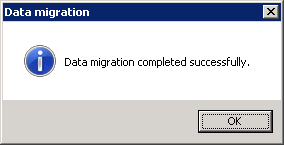
Close the migration tool and restart the source and target AOS services.