Migration Tool Installation & Configuration
The Oracle to MS SQL Server Data Migration Assistant for MS Dynamics AX software (AKA: the migration tool) can be installed on any server that is able to make a connection to the source and target databases. While any server can be used and in many cases the Dynamics AX application and database servers are actually the same machine, the following examples are based on the migration tool being deployed on a target application server. The same principles hold if there is a single server or multi-tier approach to hosting Dynamics.
The migration tool utilises RDBMS connectivity drivers supplied by the database vendors necessitating the installation of the appropriate software. The required SQL Server software should already be present on the server but for completeness it is advisable to install the SQL Server client and management tools. This provides an assurance that the appropriate version of the connectivity software is installed but also provides tools like SQL Server Management Studio that can prove useful during the configuration and migration processes.
In order to facilitate connectivity into the source Oracle database it is necessary to install and configure an Oracle client.
Oracle Client Installation
Dynamics AX installations that are old enough to run on Oracle will be the 2009 edition or older, so the underlying database is probably 10g or older. Regardless of the Oracle version, the latest 11g client will be able to connect to the database and provides the drivers necessary to enable the migration tool to operate. Newer server installations are likely to be 64bit, though there is a strong likelihood that the Oracle database server Dynamics is using is 32bit. Regardless of the database server architecture, the 64bit version of the Oracle client provides the required drivers.
Oracle client software is available from the Oracle Technology Network website. The Oracle client installation process for Windows is straightforward; only the type of installation and directory paths need to be configured during installation, the connection to the database(s) is configured later.
- Select the type of client installation required. Choosing the Administrator installation type is not strictly necessary but does provide a more complete installation.
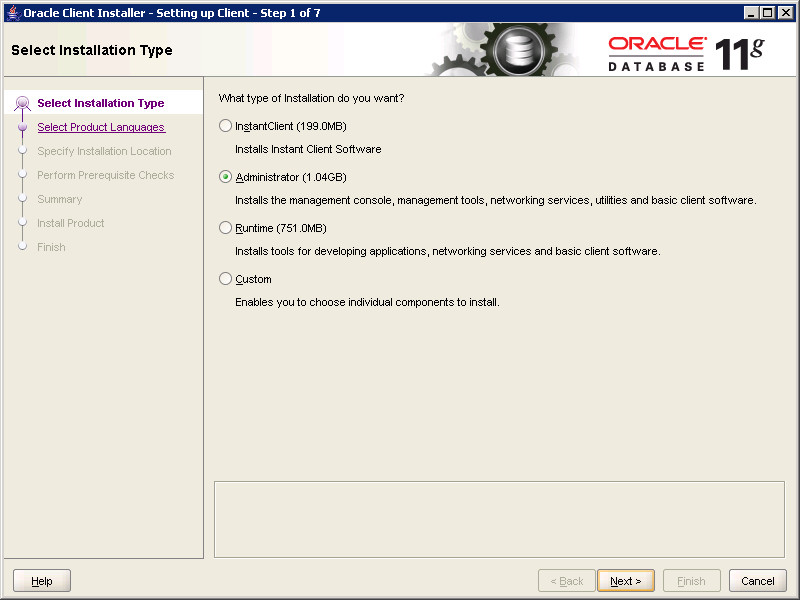
- Install the Oracle client into an appropriate, dedicated directory on the server.

Oracle Client Configuration
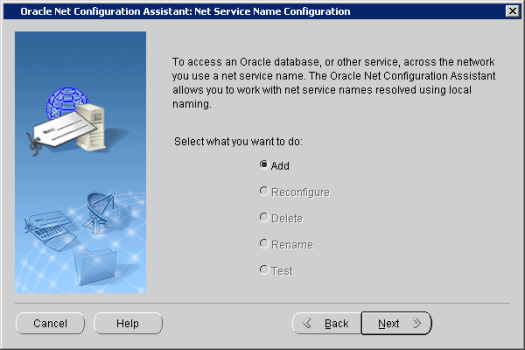
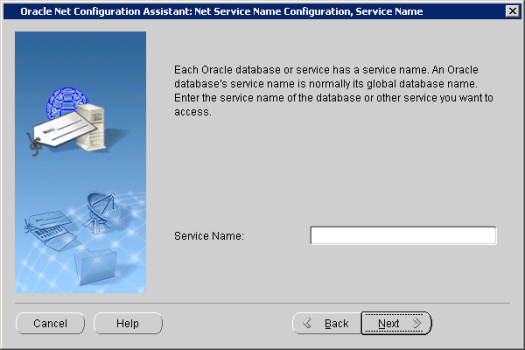
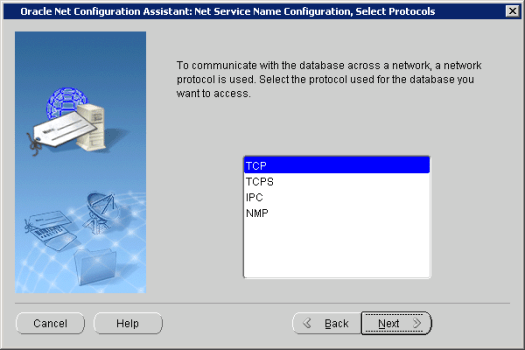
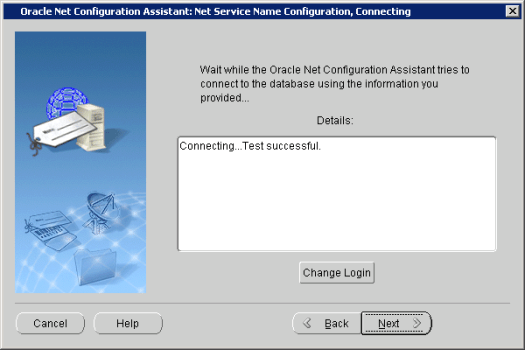
With the Oracle Client software installed, a connection to the source Oracle database needs to be created.
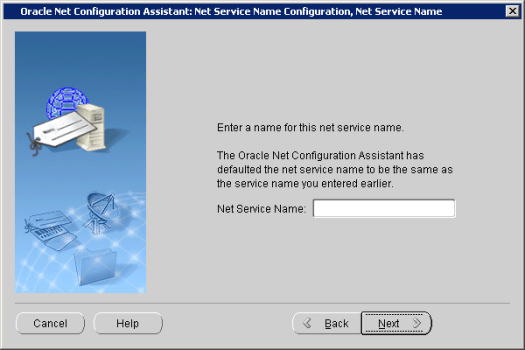
1. Open the Oracle Net Configuration Assistant and select Local Net Service Name configuration