

Configuring Openfiler storage and iSCSI targets
While it’s possible to simulate RAID arrays and other types of storage configurations with Openfiler, as this is all happening in a virtual environment I wish to limit the disk workload as much as possible so I’m keeping the configuration quite simple by just setting up some basic iSCSI targets.
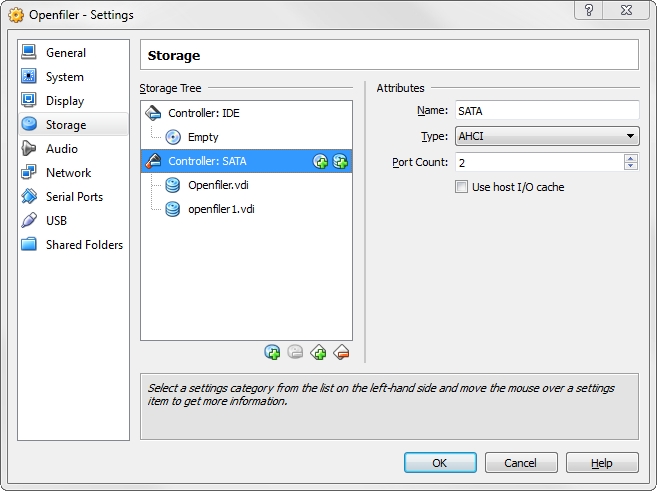
For shared storage to be effective there needs to be some storage to share. When I installed Openfiler I used all of the virtual hard drive assigned to the VM for the operating system installation, leaving none that could be shared between the systems that will eventually connect to the Openfiler server.
While all of the storage needed by the system (i.e. the storage to be shared as well as that needed by the OS) can be configured on one virtual drive, I prefer to keep the OS and the shared storage on two separate drives, so it is necessary to add a second, larger virtual hard drive to the VM. The process for adding the second drive is the same as it was for the original drive except this time the drive is set to 100GB in size instead of 8GB.
 The main interface for Openfiler is the Web Administration tool presented on port 446 of the server. The default username is openfiler and the default password is password (so this needs to be changed pretty quickly after installation!)

The Openfiler main page presents configuration details and system status information.
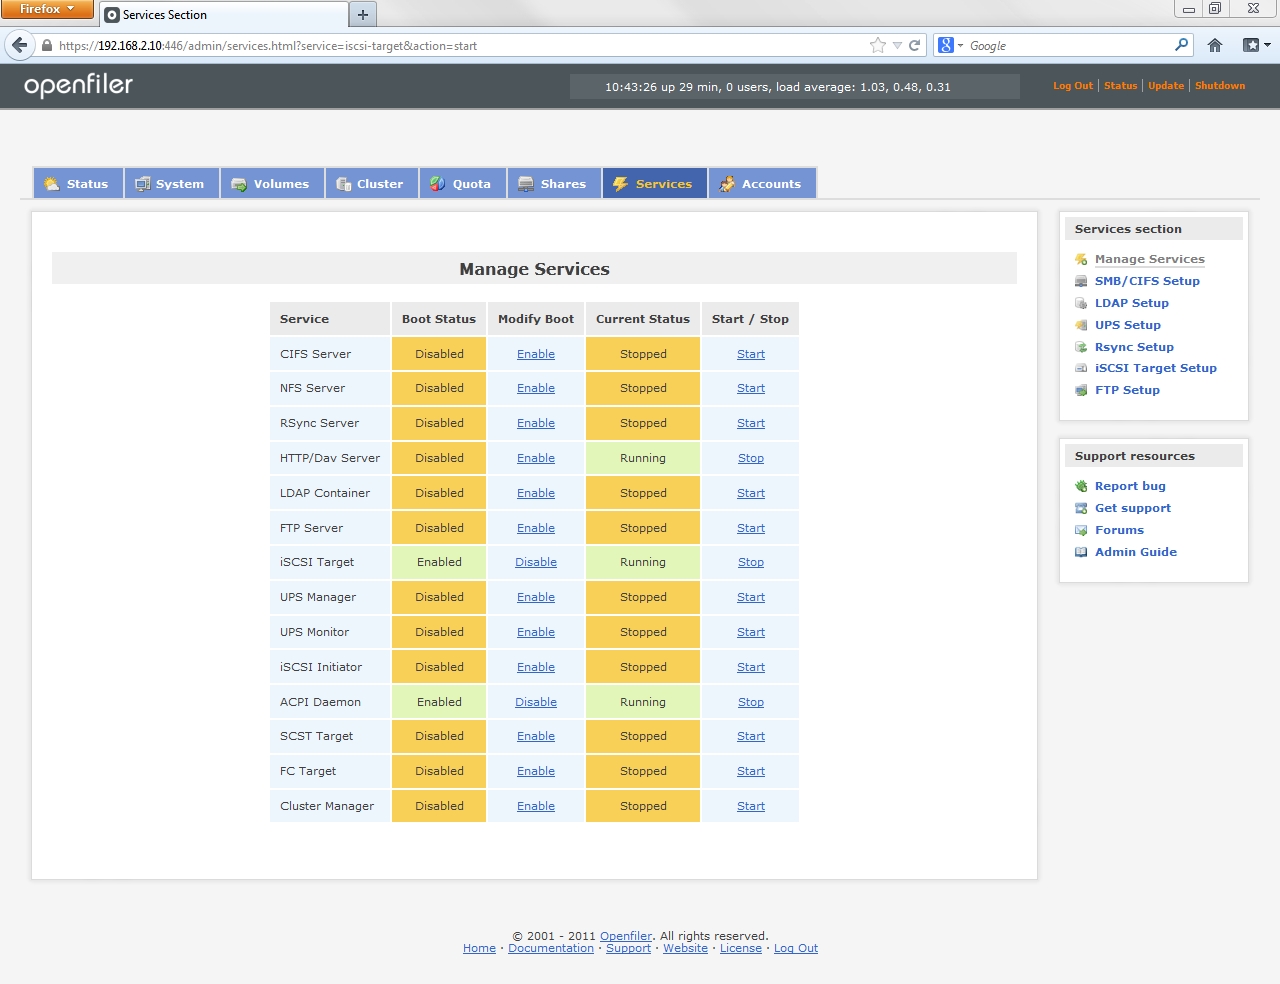
Openfiler supports a variety of technologies and the services that provides the functionality of the system are controlled from the services page. In order to facilitate iSCSI enable and start the iSCSI Target service.
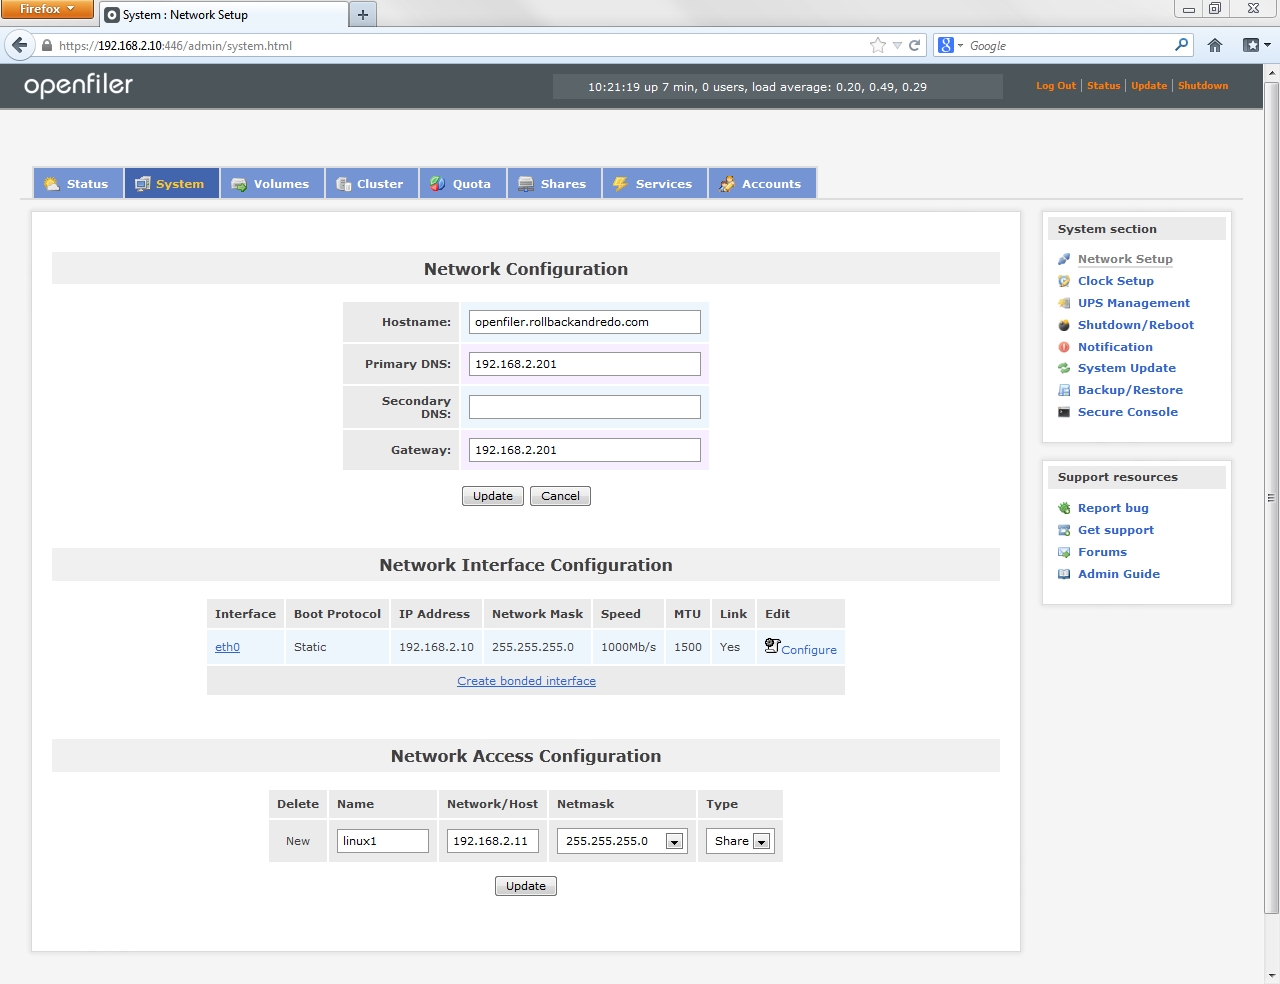 The individual iSCSI targets are configured to be accessible only by certain computers or networks identified by specific IP addresses or ranges of IP addresses. In order to grant access to those specific IP addresses it is first necessary to configure the addresses in Openfiler. Navigate to System > Network Setup and under Network Access Configuration add the IP addresses you wish to grant access to.
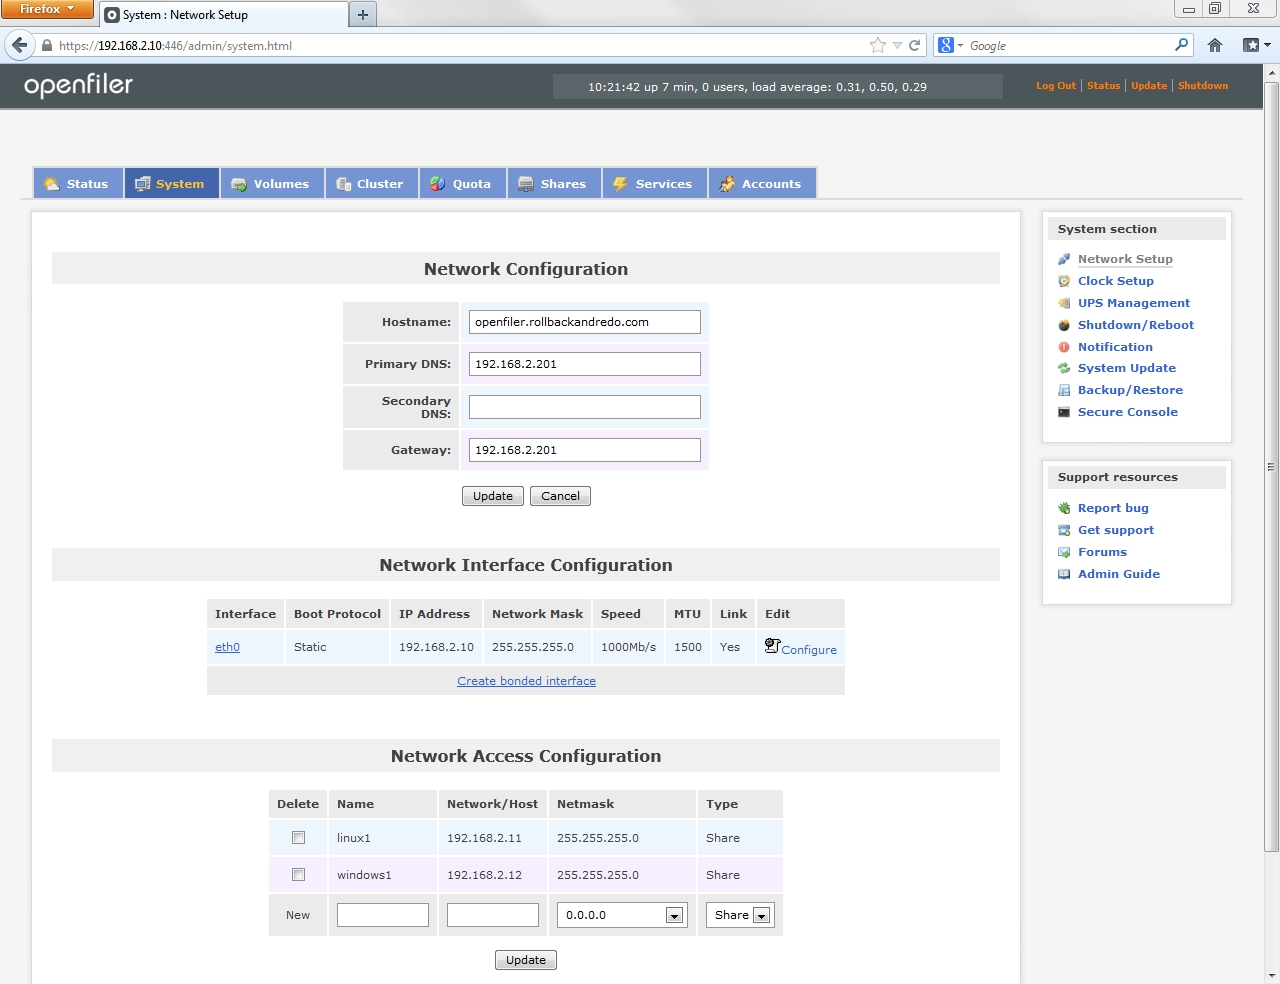
Enter a name for each of the addresses or ranges you wish to configure. I created a Network Access Configuration setting for each of the hosts that are to connect to Openfiler.
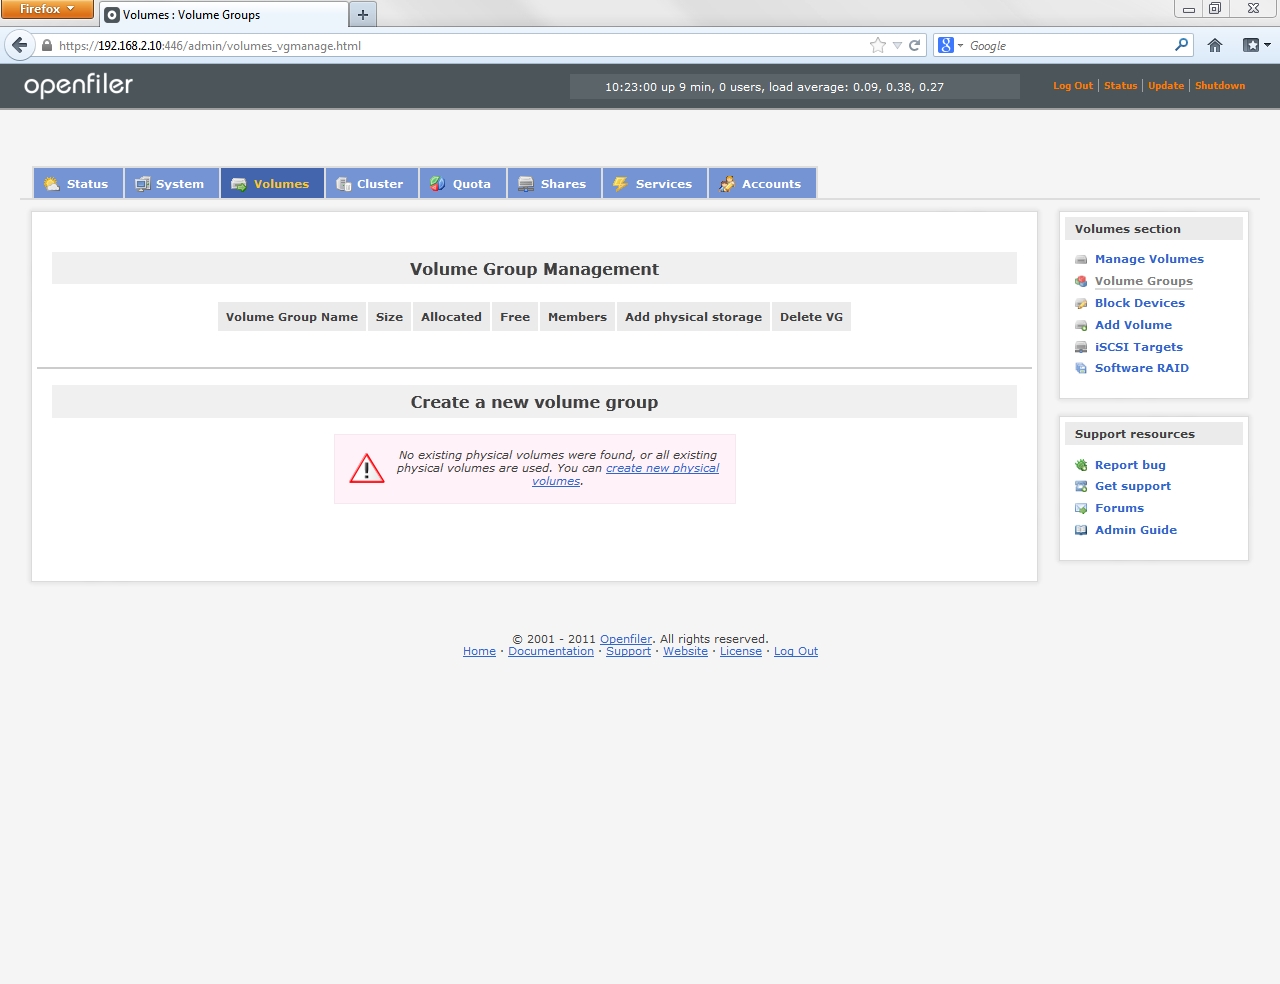
The management of the storage presented by Openfiler is handled under the Volumes tab. Access Volumes at this point displays the page above, as no configuration has been completed.
Click create new physical volumes to start the configuration.
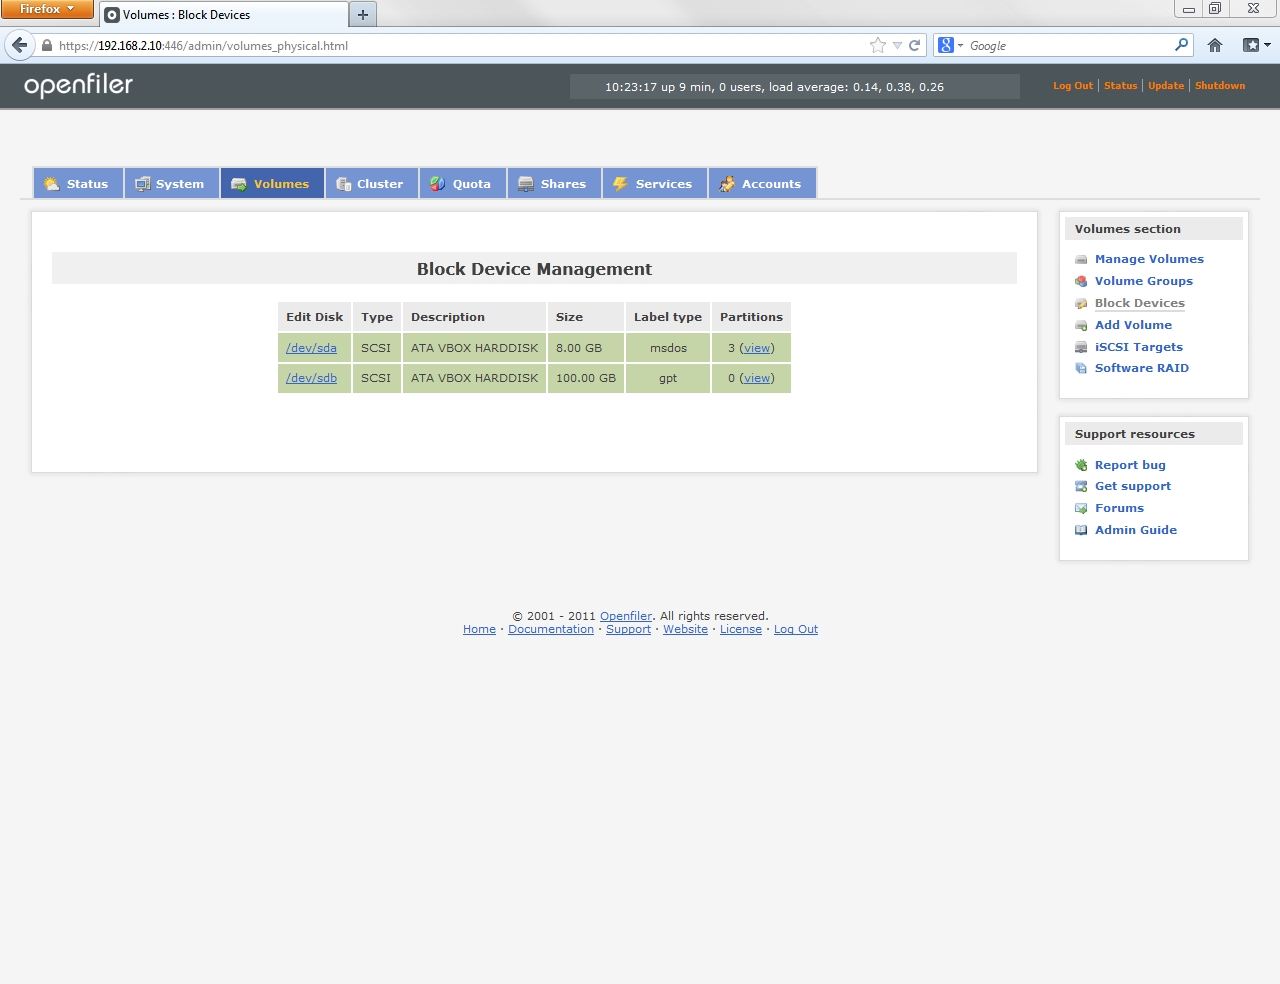
The Block Device Management page lists the physical drives available to Openfiler. In my configuration the /dev/sda drive is the 8GB virtual drive where Openfiler is installed. /dev/sdb is the new, empty 100GB drive allocated for shared storage.
Click on the link for the 100GB drive to create a partition on the device.
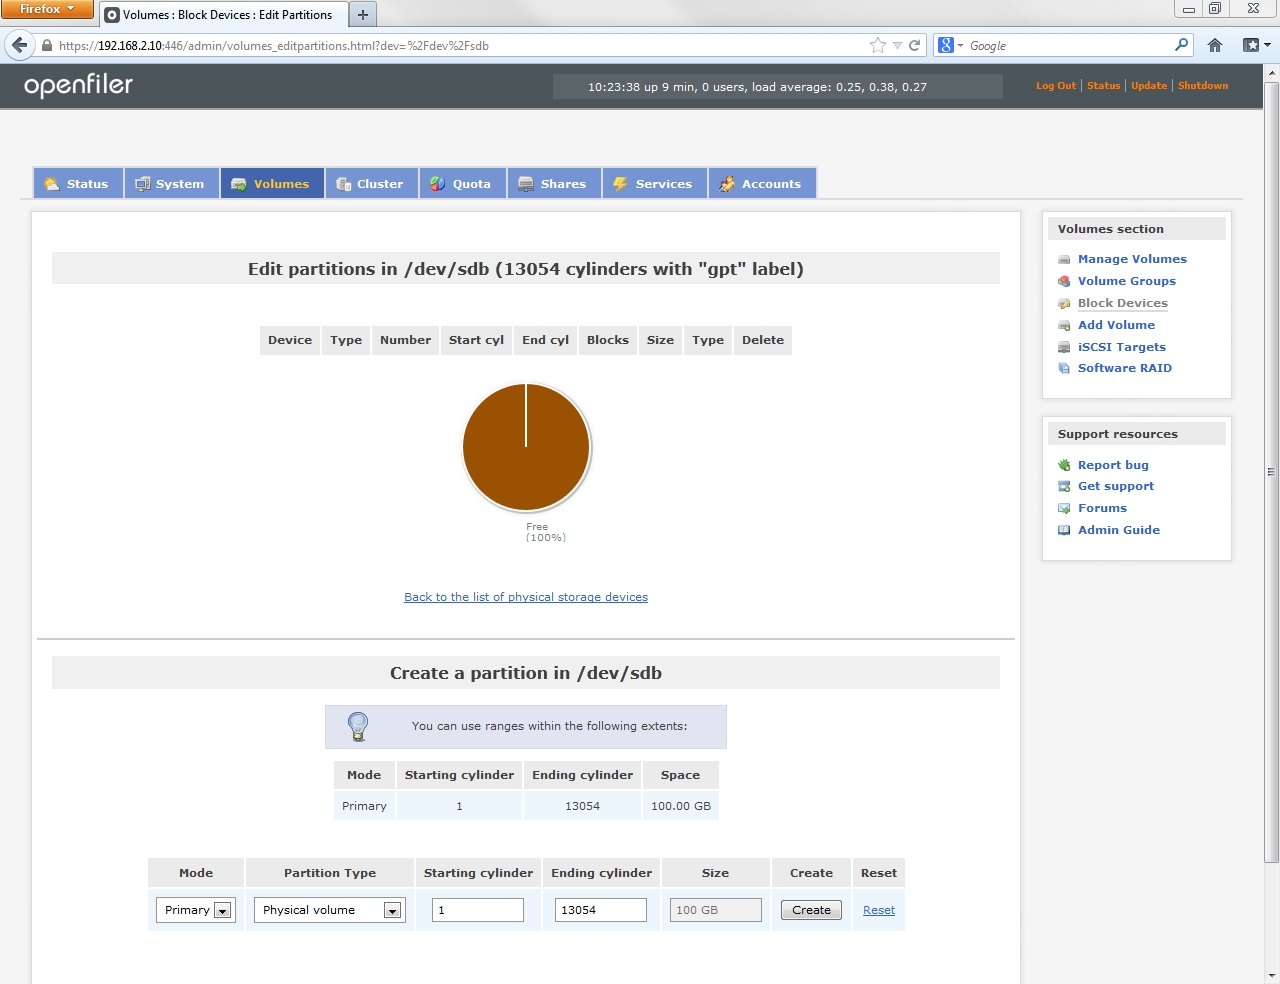
Create a new partition on the drive. For simplicity I created a single partition that used the entire drive.
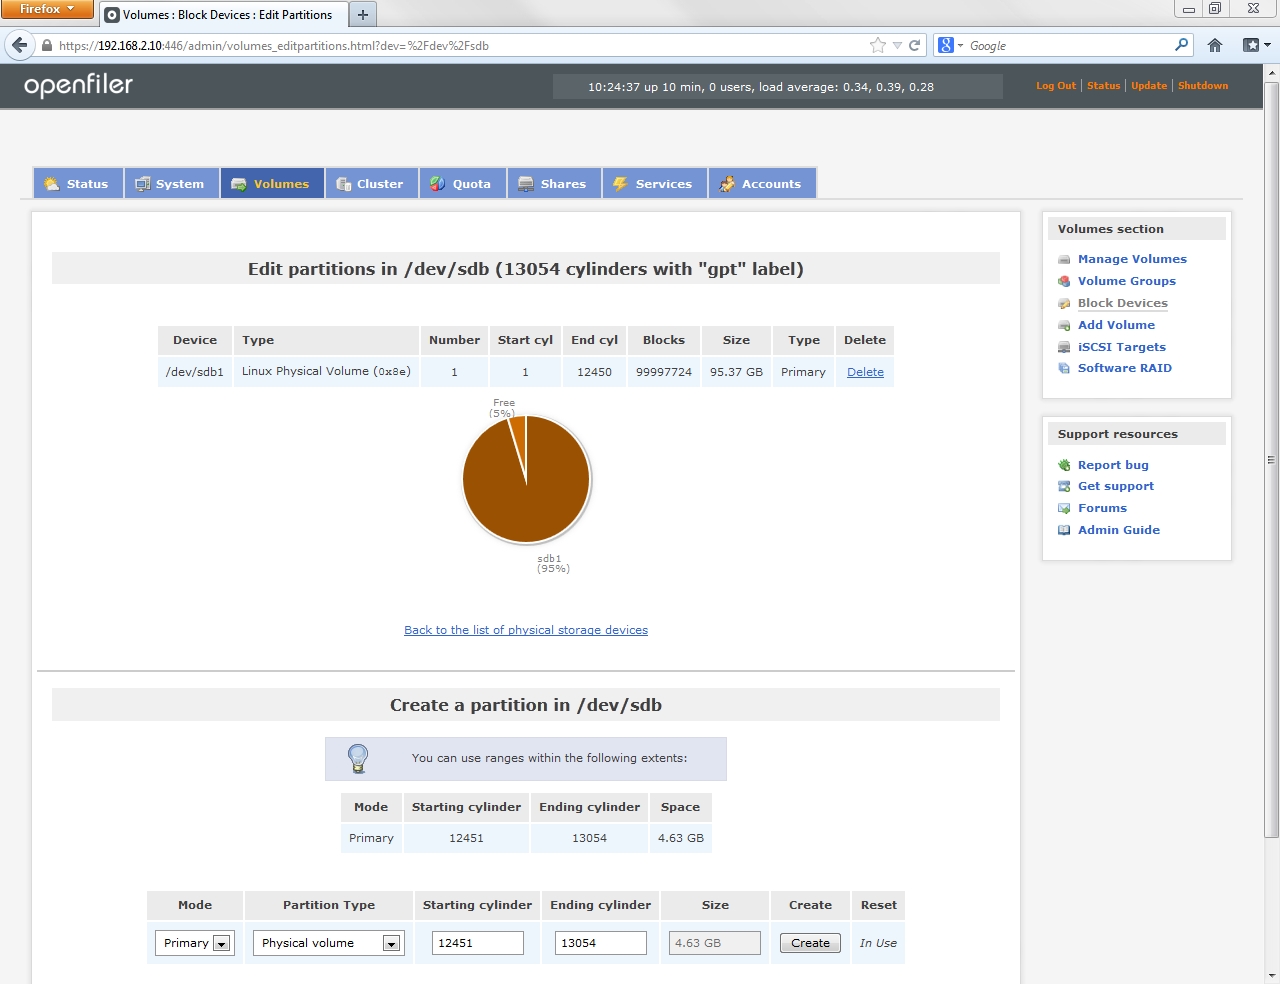
With a physical volume now ready to be used, navigate to Volumes > Volume Groups to create a new volume group.
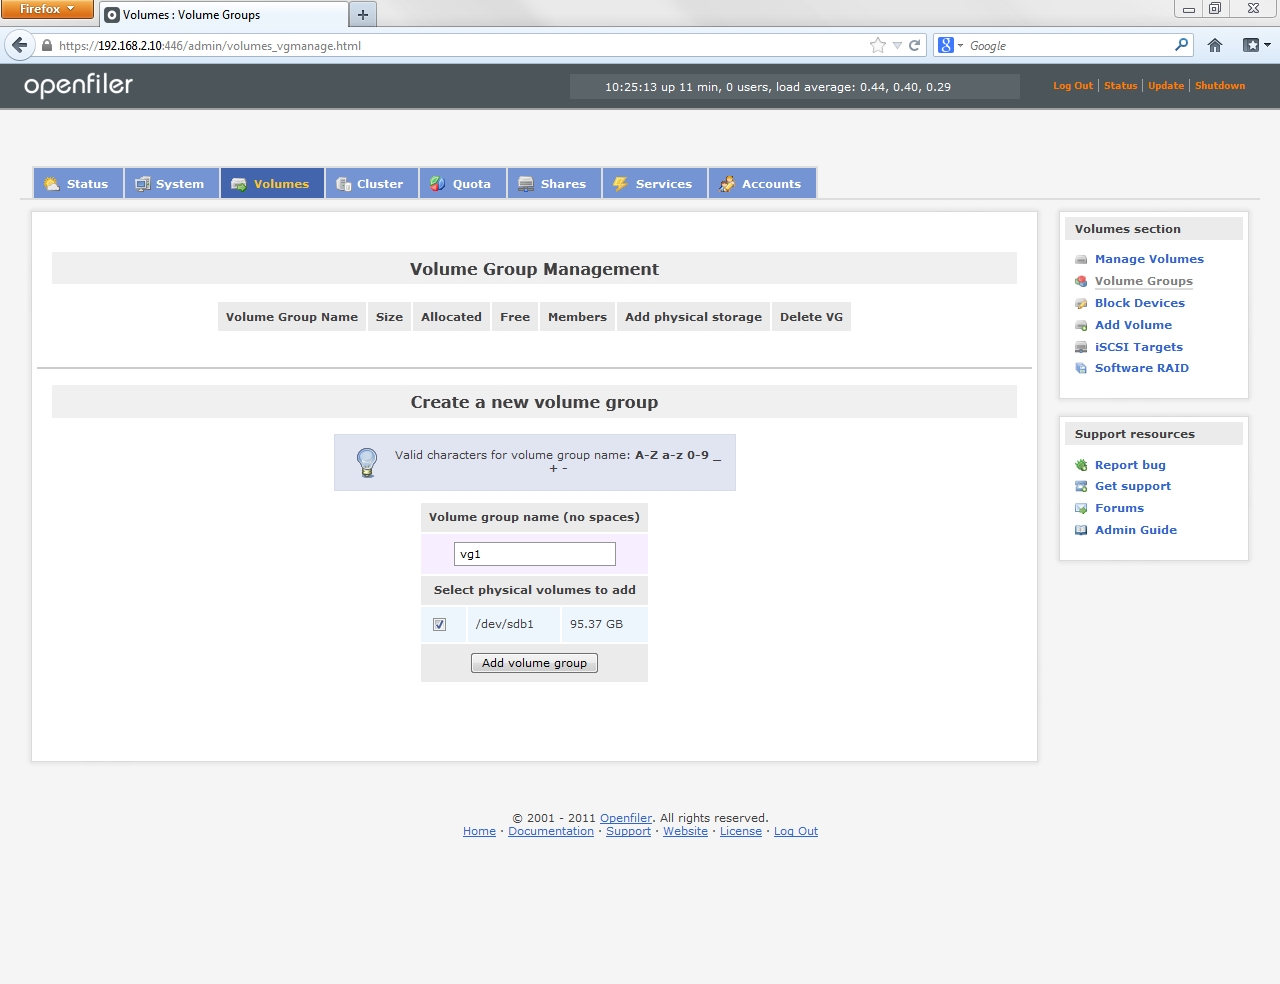
Unlike on the previous visit to this page the create new volume group section now contains the elements needed to configure a volume group.
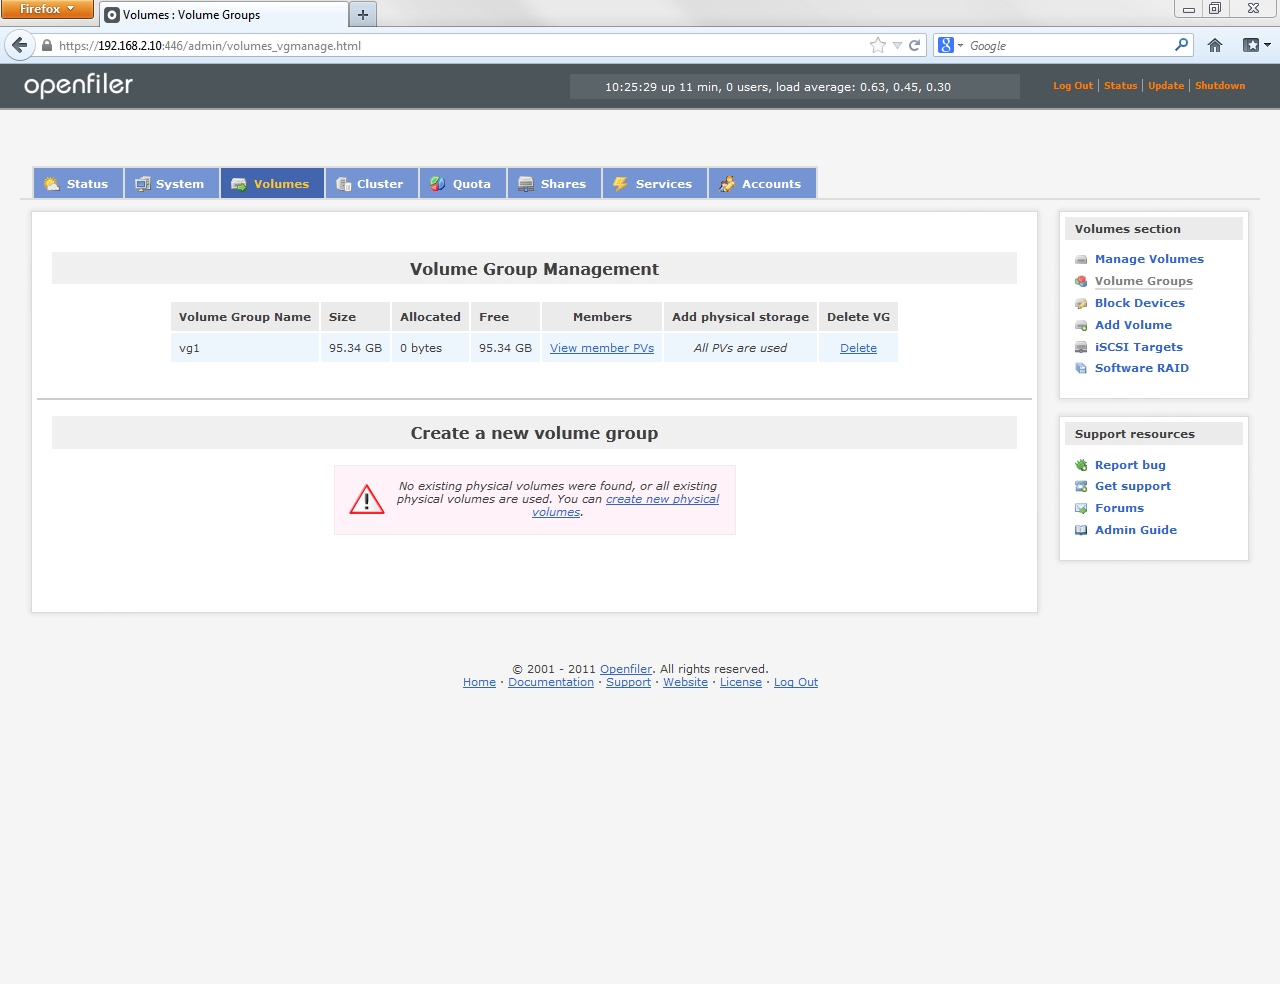
Once the volume group is ready navigate to Volumes > Add Volume.
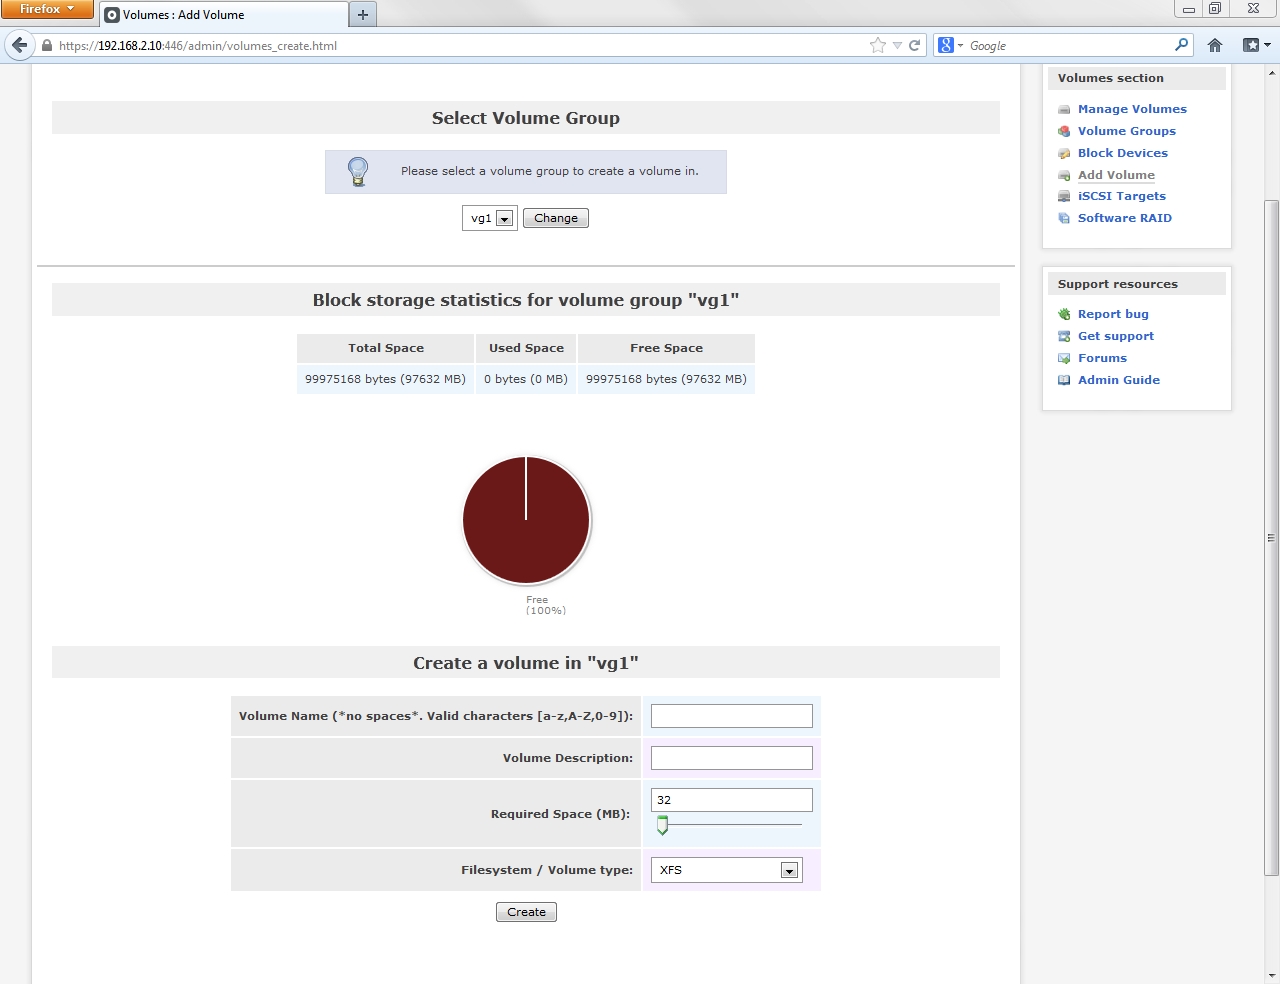
On the Add Volume page you can add individual volumes to a volume group.
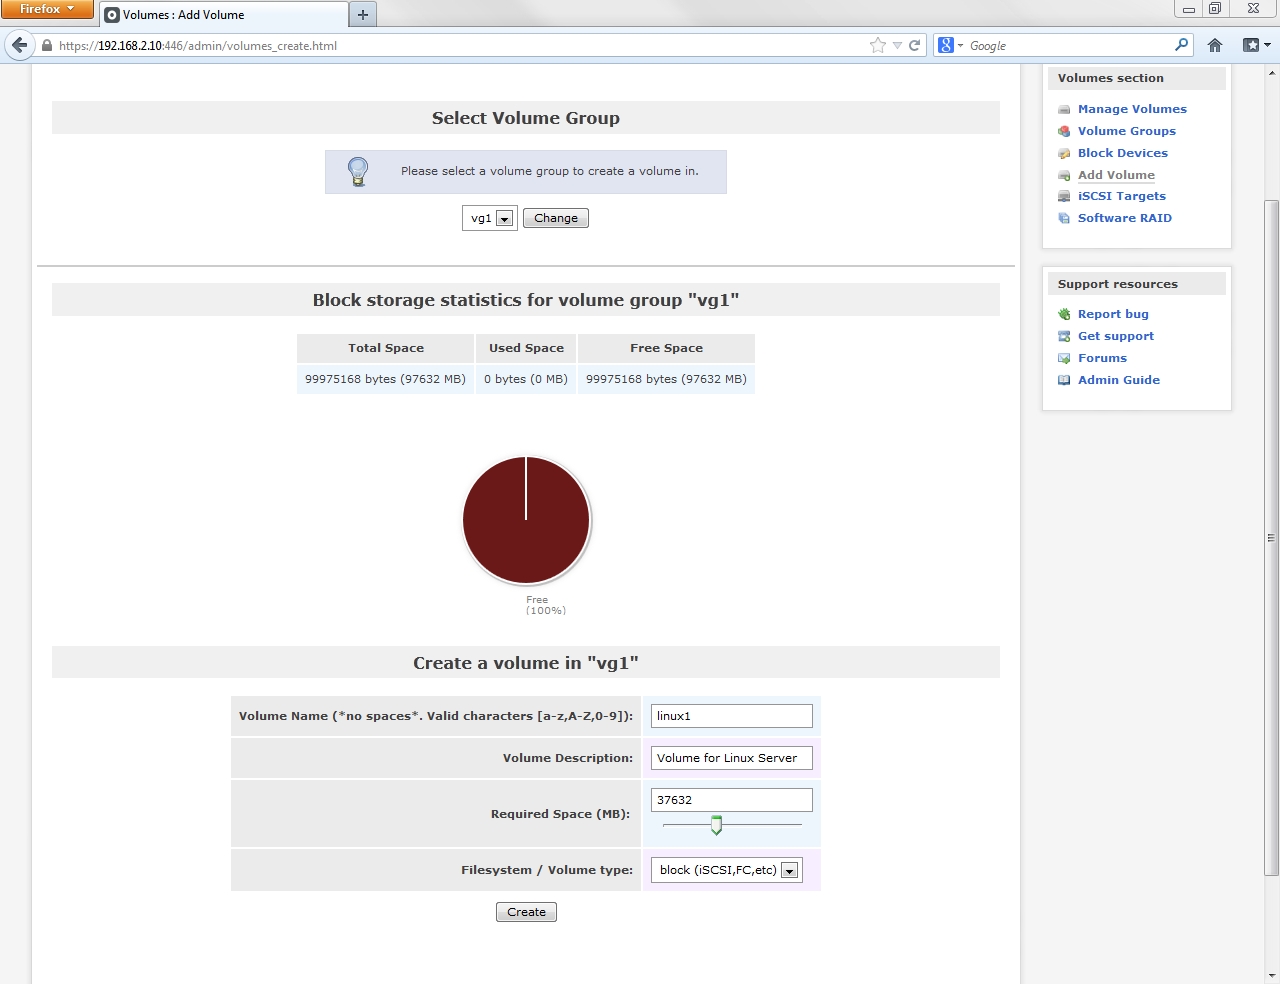
I created three volumes, each approximately a third of the size of the underlying drive (in this case 100GB). I labelled each volume with a name that corresponded to the host that was going to access that particular volume.

The Manage Volumes page allows you to review and edit the settings of each of the volumes configured within a volume group.
Click the link to iSCSI Targets to begin the actual iSCSI configuration.
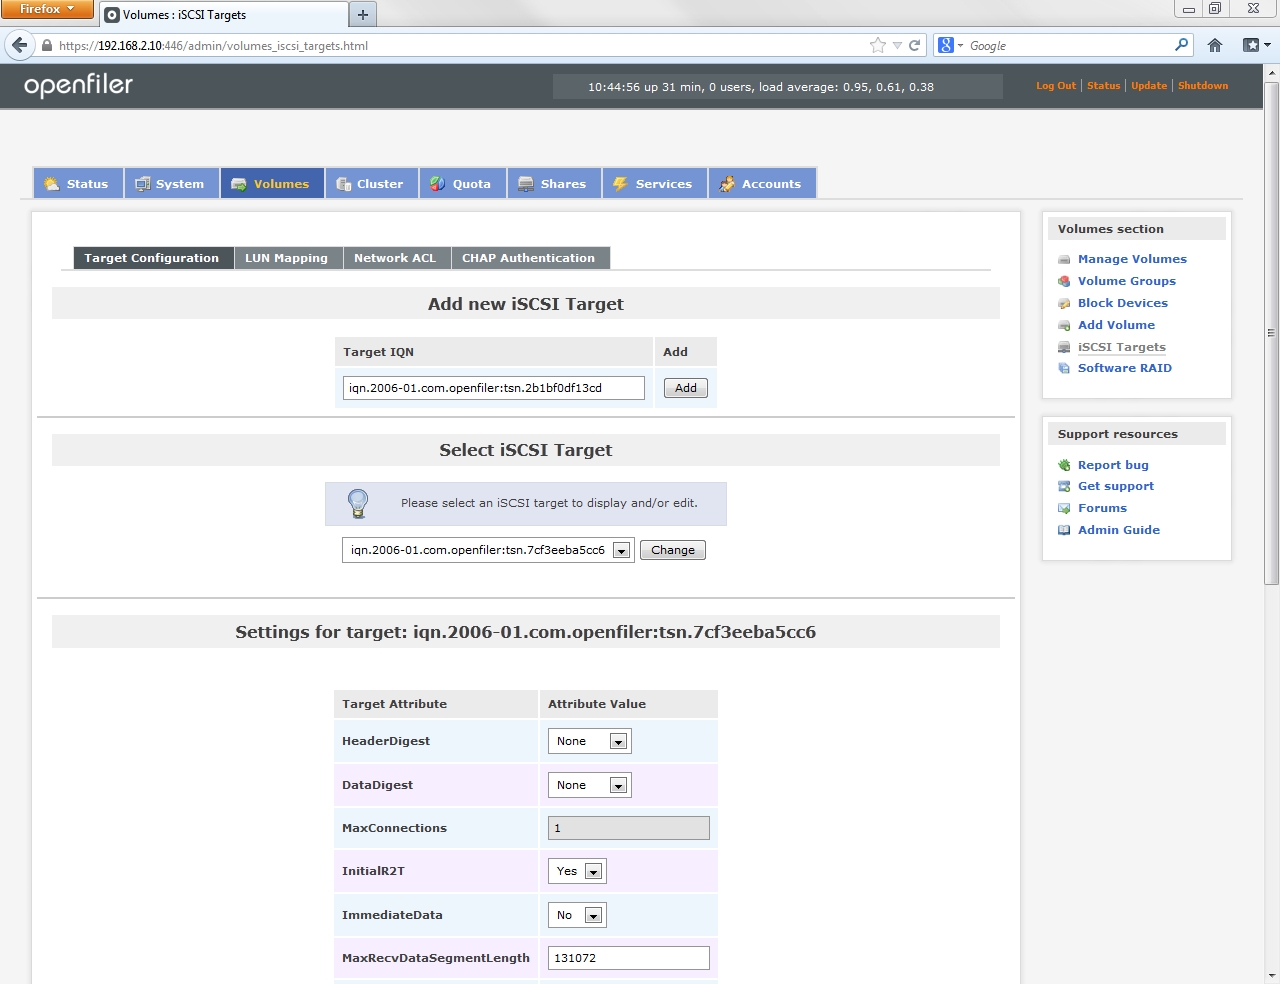
Under Add new iSCSI Target you can enter a name for the new target you are creating (or accept the default as long as you make a note of what that target name relates to for future reference!).
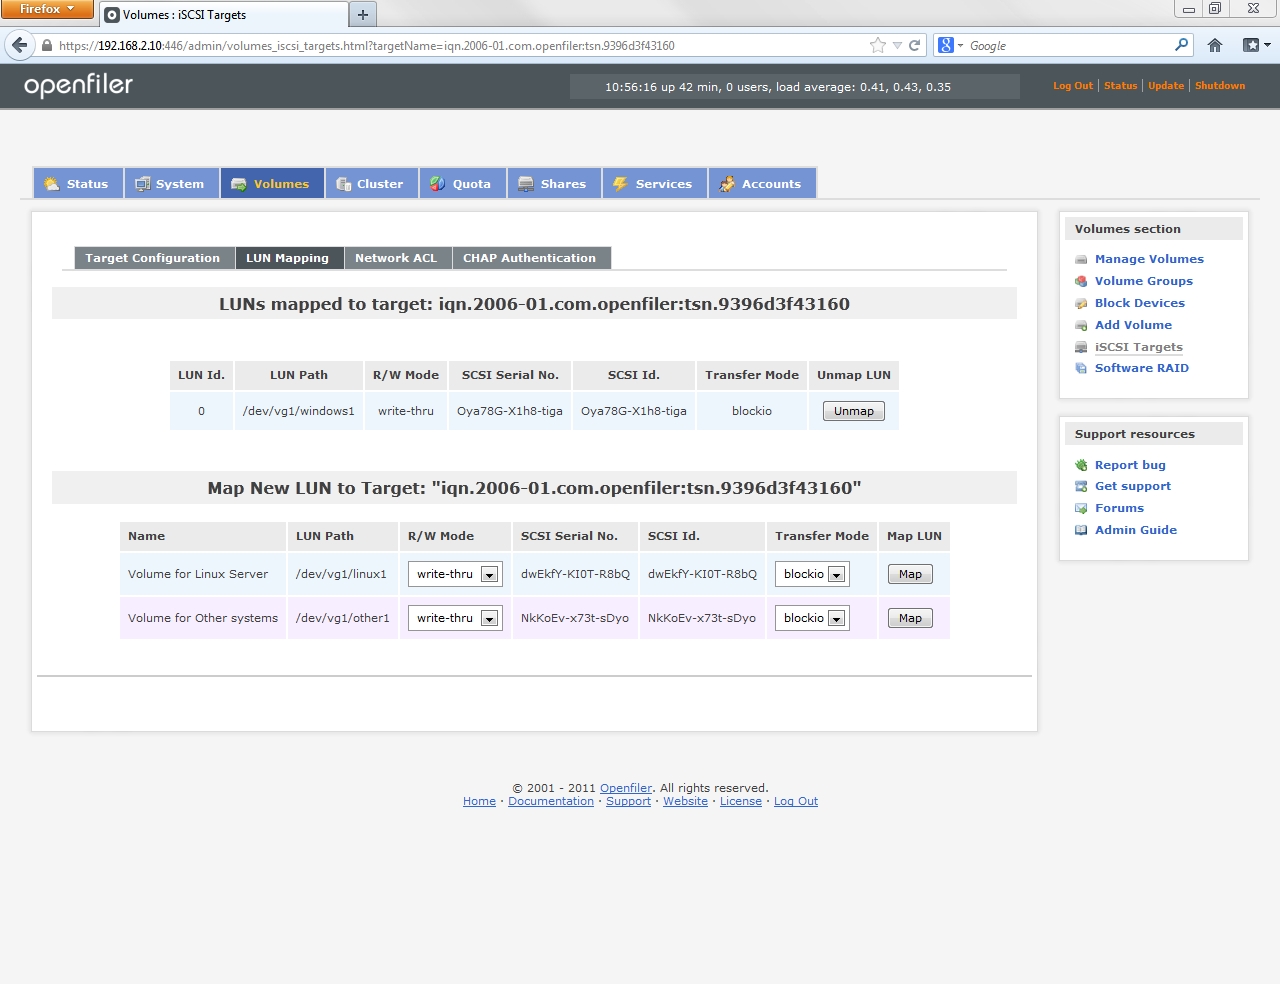
Under the LUN Mapping tab you assign the storage volume you wish to use with this iSCSI target. More details on LUNs can be found here.
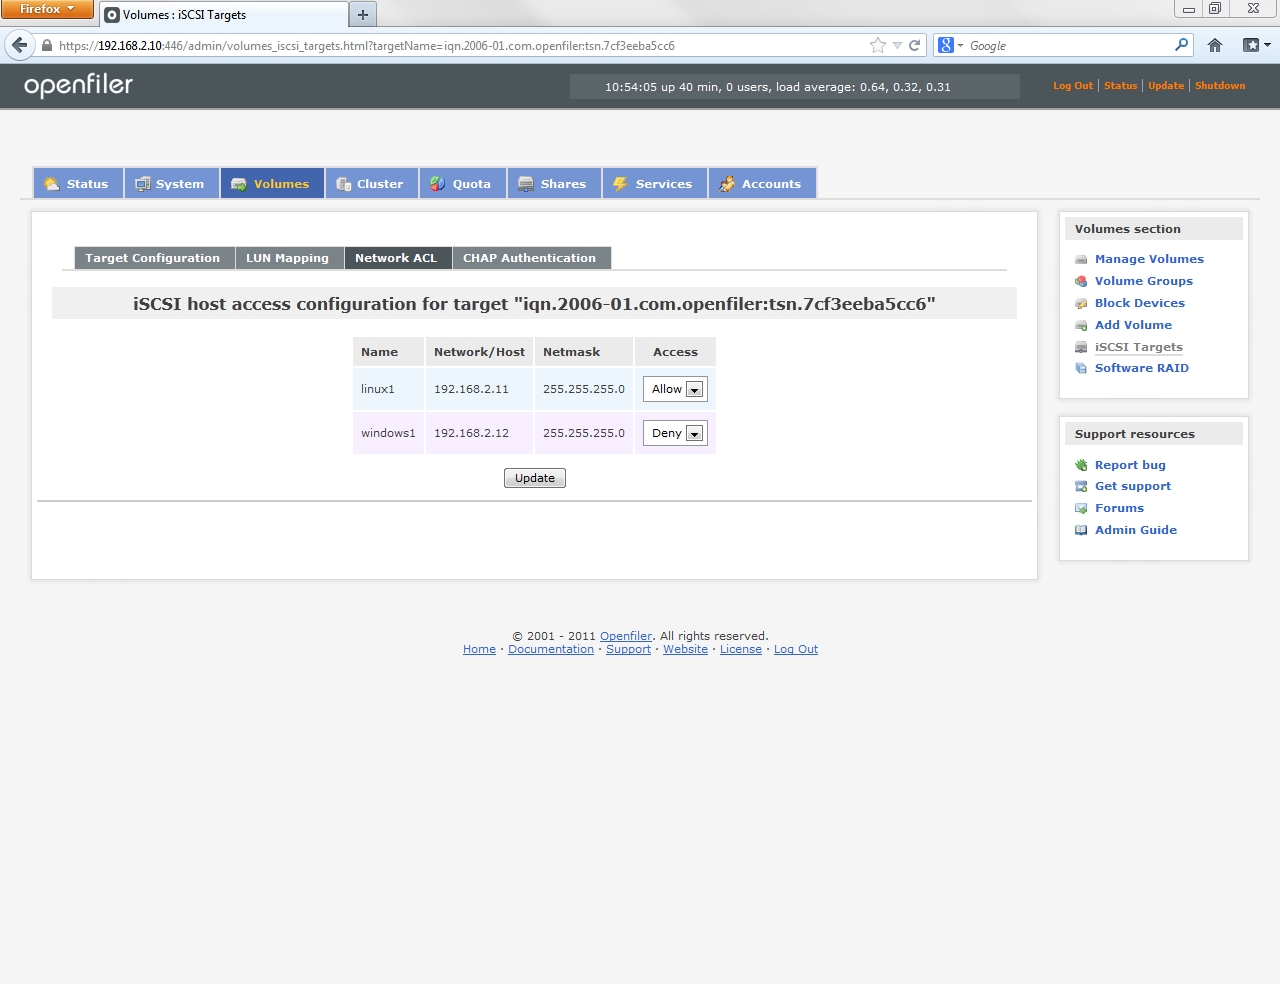
Finally, on the Network ACL page you grant access to the iSCSI target to a network host configured previously by selecting Allow from the drop-down list next to the grantee host name.
As my system is purely for testing purposes I have not configured any security which would be essential for any system where real data was being stored.
